Search This Blog

Monday, May 26, 2014

Photo Wall Art

Okay so as this is a photo project, and I used pictures of my friends. I don't want to show up the final products incase my friends don't want their faces on the internet. But I'm sure you can imagine it. It's a poster covered in pictures cut in the shape of the bird.
Also the inspiration from this came from how people would hang their pictures on the wall. I wanted to make a poster instead and decided to cut it in a bird shape to add some pizzaz.

What you'll need:
A poster boards
Poster 
Ruler
Scissors
Pencil
Mod Podge or Glue
Photos
Decorating Supplies

The first thing you are going to want to do if you want to do it at all is to draw your shape on your poster board. I enlarged my picture to size on the computer so that if printed out it would fit on the board then took measurement and used those to draw the shape.
 Whether you used a shape or not you are probably going to want to draw the gridlines based on the size picture you have. My pictures were 4x4 so I made 4 1/4 inch squares so that there would be a 1/4 inch border between the pictures.
After you have your grid drawn you are going to want to place out your photos so you know where they go.
 Then because I had a shape and I needed to know how to cut the pictures so that the picture would fit the bird I used scrap looseleaf paper to trace all the individual squares.


 Then I cut them out and matched them with the pictures.
 Because the squares on the bird were bigger than the actual picture I had to go and cut off a border of 1/8 inch. If you are doing this too (which you don't have to. You can wing it or you could not even have a border) then cut off half the amount from each side that you added to your actual picture width. So I added 1/4 inch to my pictures so I cut off 1/8 inch from each side. I used a ruler to make dots and then redraw the shape.

 Then I used tape to secure the stencil to the paper to make it easier to cut out the shapes and I actually cut the pictures.
 Then it's time to cut out the shape and cover up the lines from the pencil while still kind of keeping them so you know where to put your pictures.
 I decided to mod podge tissues on mine. I didn't want to paint and I was going to use tissue paper but we didn't have any so I just tore up some tissues and mod podged it on. I had to use quite a lot to cover up the pencil lines. I would not recommend this but it did add some nice 3D aspect to my final product. If you do I recommend erasing the pencil lines slightly so they are less noticeable.
 I did the outer edge too...
 And then cut off the excess.
Then glue on your pictures and you are done.  Again I don't want to show you mine for my friends privacy but I'm sure you can imagine what it looks like.

I hope this inspired one of you and if you do try it out you should put it on Pinterest and send it to me at http://www.pinterest.com/glueandyou/crafts/. I'd love to see it. And make sure to make it your own!

Thursday, May 22, 2014

Word Art

Final Product...

The Inspiration...
Found here via Pinterest
This is really simple... but is a little time consuming but I think it is worth it.

What you need:
-paper
-writing utensils
-eraser

So first you're going to want to write down your words down on the paper.  I used the lyrics from Davin DeGraw's song Soldier. I recommend doing this in very light pencil...
 And then draw your pattern I used stencils to make a flower nature scene with birds in the air...

 Then use some colored writing utensils to rewrite the words so that I forms a colored picture. I made a ombre type of pattern which gives it a little more dimension.
 To erase the pencil and give it more texture I erased the whole until the thing...
And that's it!
It's really simple and easy but it can take a while...
You can do one with one shape but I couldn't find a pattern so I did a scene which I really like. Make sure to make it your own...


Sunday, May 18, 2014

Decorative Letters

The Final Product...

The Inspiration...
There really was none.

I haven't hung them up yet but I love them and I can't wait to hang them above my bed. They are so versatile. They can say whatever you want and you can make them whatever you want.

Some basic supplies you'll need:
-Cardboard, you can use cereal boxes or sheets or cardboard
-Scissors
-Decorating supplies like paint and fabric
-Glue

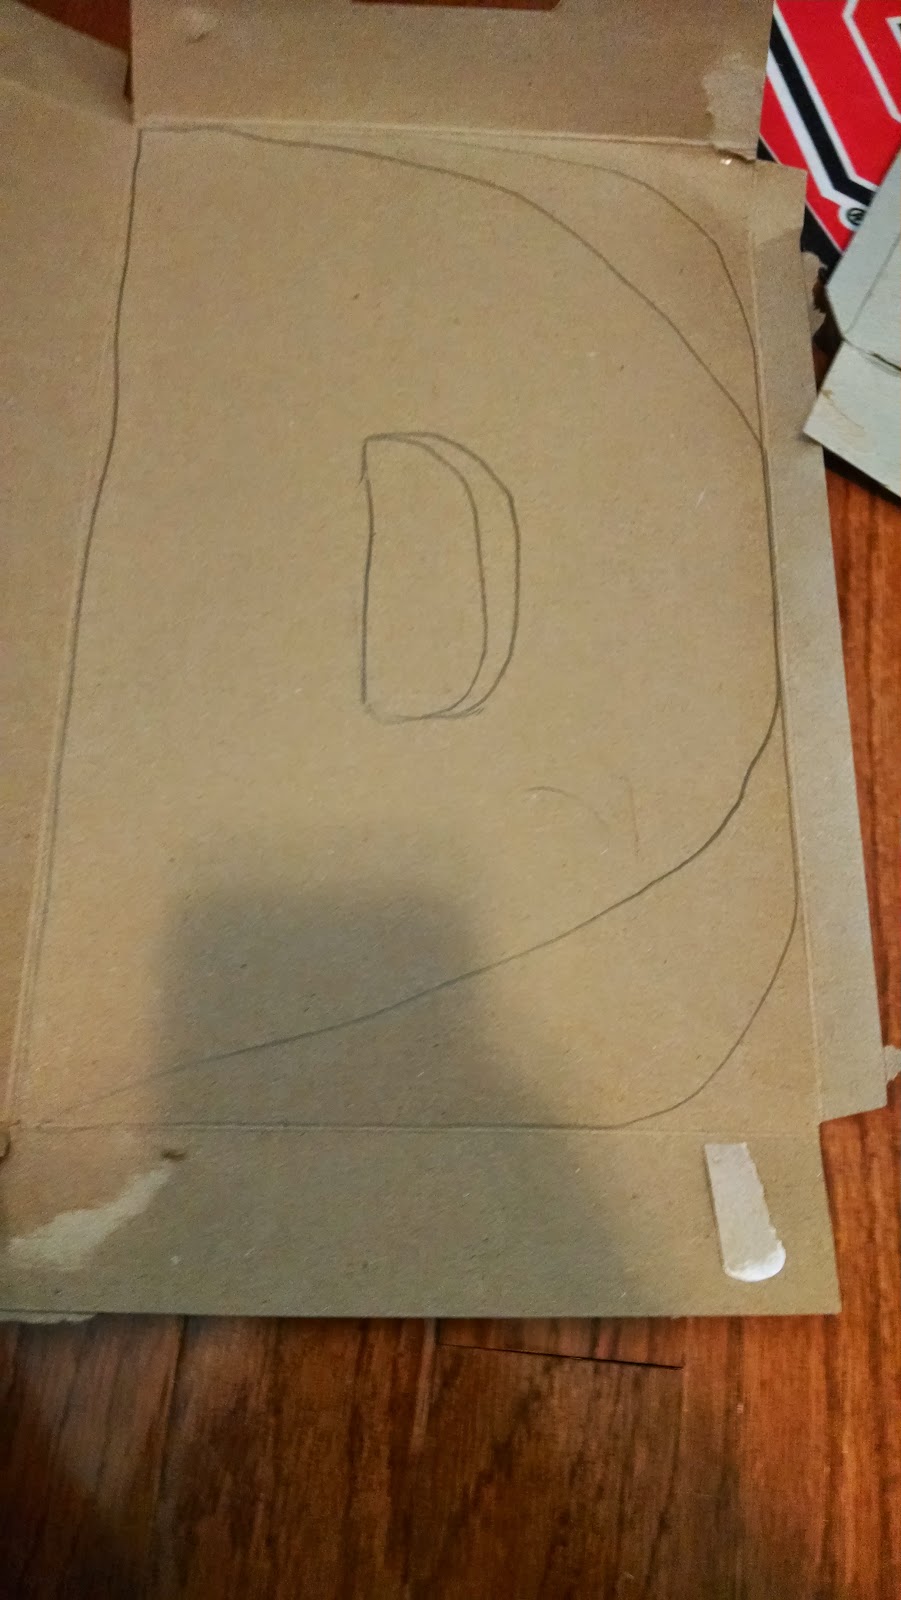
So first you're going to want to cut out your letters out of the carboard. You can print off letters online if you want or you can draw them yourself. You can also make them however large you want.

I used cereal boxes...
 Here are my letters...


 And cut them out...
 Now you get to decorate them... I choose to use fabric. I used tacky glue to glue the fabric to the cardboard and I just cut the excess fabric off.
 Then I also covered that fabric with this fabric...
 I covered the edges with this because I didn't want to put glue where there would be a hole.
I glued down one side...
 Then flipped the fabric onto the front...
 And over onto the front...
 Then cut the fabric... and glued down the stencils.
 Then I wanted to add more deminsion so I decided to spray paint over a stencil. I made this stencil...
 And some homemade spray paint which I should've made a little whiter...
 And then spray painted...
 That is that. I'm done...
So I hope this inspired you and gave you some pointers. 

Thursday, May 15, 2014

Fabric Transformation

Before...
 After...

Okay so I recently made some decorative fabric letters which will be up on Sunday because before I put it up I wanted to put up all the the mini diys that went into it.
One of them was using making some distressed hole filled fabric so that's what today's diy is going to be as you probably knew from the before and after's up above.

There were two parts to transforming this fabric, the first was making the holes, the second was dying to add dimension.

So some methods and tips worked for me to seriously distress fabric...
First I find that it helps to cut slits in the fabric with scissors and then make those slits fray.
 So one thing that helped to fray and create some distressing was a lemon zester. You basically just "zest" your fabric. This isn't perfect but it did definitely make some difference.
 But the thing that worked the best and I don't have a picture for is a razor.  This helped fray the fabric, create new holes, and thin the fabric to make it look more distressed. So basically all the shredding in the final product is due to the razor. A couple of things with the razor trick.
1) Make sure you are on a protected work surface that won't get scratched.
2) Use and old razor. This will ruin your razor and you are not going to be able to use this razor afterwards. I used a disposable razor and the handle broke off on mine so please don't use a nice razor.
And another thing that helped distress was washing and drying the fabric over and over and over again. This works because you're just roughing the fabric up will soften the fabric and will cause it to fray. Like that really worn t-shirt that you just love.

Now onto the dying part... (because my fabric was a little gross colored)
So to dye my fabric I was going to use kool-aid but it turned out that my mom had bought a knock off kool aid brand and the blue packet didn't contain blue dye it contained red.
So first how to kool aid dye because I believe it actually works and it's really simple. You basically take a pot that is big enough to hold all of your fabric and then fill it with enough water to cover all of your fabric. Then you add the kool aid packets, I think a rough estimate would be one packet to 2 cups of water but just go with the flow. After you've added the kool aid then you bring the water to a boil and once it's boiling then you turn off the heat, put in your fabric, let it completely cool and then hang your fabric up to dry.

So what I did was a combination of kool aid dye and food coloring dye. I used the same method of the kool aid dye, I just used a whole bunch of food coloring, and it worked.
I actually ended up adding a pack of purple kool aid which worked out pretty well. One thing when kool aid dying is to use unsweetened because if you use sweetened then your fabric will become sticky.
Here is my mixture...

 And my fabric soaking...
 And the dyed fabric...
 One thing to help the kool aid dye is to iron the fabric and my fabric was really wrinkly before so ironing really helped.
And that is it. I hope this helped, and you could do the holing to some clothes if you wanted to and you could kool aid or food coloring dye some clothes if you wanted to. Next Thursday there will be and art journal video.

Monday, May 12, 2014

More Room DIY

So a couple of things...
1. Yes today is Monday but yesterday was Mother's Day and I was really busy. Sorry if anybody checked and there wasn't a new post.
2. And as I was a doing some diying I took pictures but I must not have taken them though I thought I did or they got lost somewhere which is weird because I don't delete pictures ever.
3. And as for the stencils. I don't have pictures other than the ones in the stencil post but some things about them...
a. So I don't think I mentioned this but the recommended time for the stencils to dry is overnight. I let them dry over night and peeled them off. They came off quite nicely (I would recommend using a plastic bag) but I found that some of the glue part had settled to the bottom. I let them dry a little bit upside down so that they were dry and that worked quite well.
b. I used them with a spray paint that I also made and is the later bit of this post and some decorative fabric. They became quite soggy and overall didn't hold up that well.
c. and when they had fully dried I noticed that some of the letters weren't as puffy and were more flat but those were the parts that held up the best
d. I've seen these type of letters used not as stencils but as letters as you glue onto something and I think that these might work okay for that.
e. I have also heard somewhere that you can make stencils with hot glue and freezer paper.
f. My overall verdict is that they worked okay as stencils as long as they are fully connected together and you're really careful with them.

Now onto a new DIY
A spray paint DIY:

Inspiration:
Found here via Pinterest
This homemade spray paint is really easy and you only need three things;
1. water
2. spray bottle
3. paint

You'll need a one to two ratio of paint to water. I just used a small travel sized misting bottle that I got from Target a while ago.  I tried to make a light purple color do I used mainly whiter with a few dots of purple. I used acrylic paint if anybody was wondering.
The you just shake it up and that's it. It's really that simple and easy. However I don't think this would be good for spray painting a chair or a piece of furniture but it is good for those little crafts where you want to have a dotty spray paint kind of look.

Here are some tests on fabric...


Thanks for reading...