Search This Blog

Friday, August 15, 2014

DIY School Supplies #3: Ombre Notebook with Design

The Final Product...

This is basically the same idea and steps as my http://glueandyou.blogspot.com/2014/08/diy-school-supplies-2-ombre-and-quote.html. So if you want to go check that out...
The only  is that it's a different design, different colors and splatter painted.
Anywho let's get started...

This is the notebook I diyed. All the notebooks I'm going to be using for my diys are from target and are the hash tag notebook ones as you can see. These are cheap and plastic so they should be more sturdy and durable. I am just using the blue one for this diy.
 The first thing was the ombre. You can see my ombre techniques here.
 And then splatter painted in two different colors which you can also see in the above link...

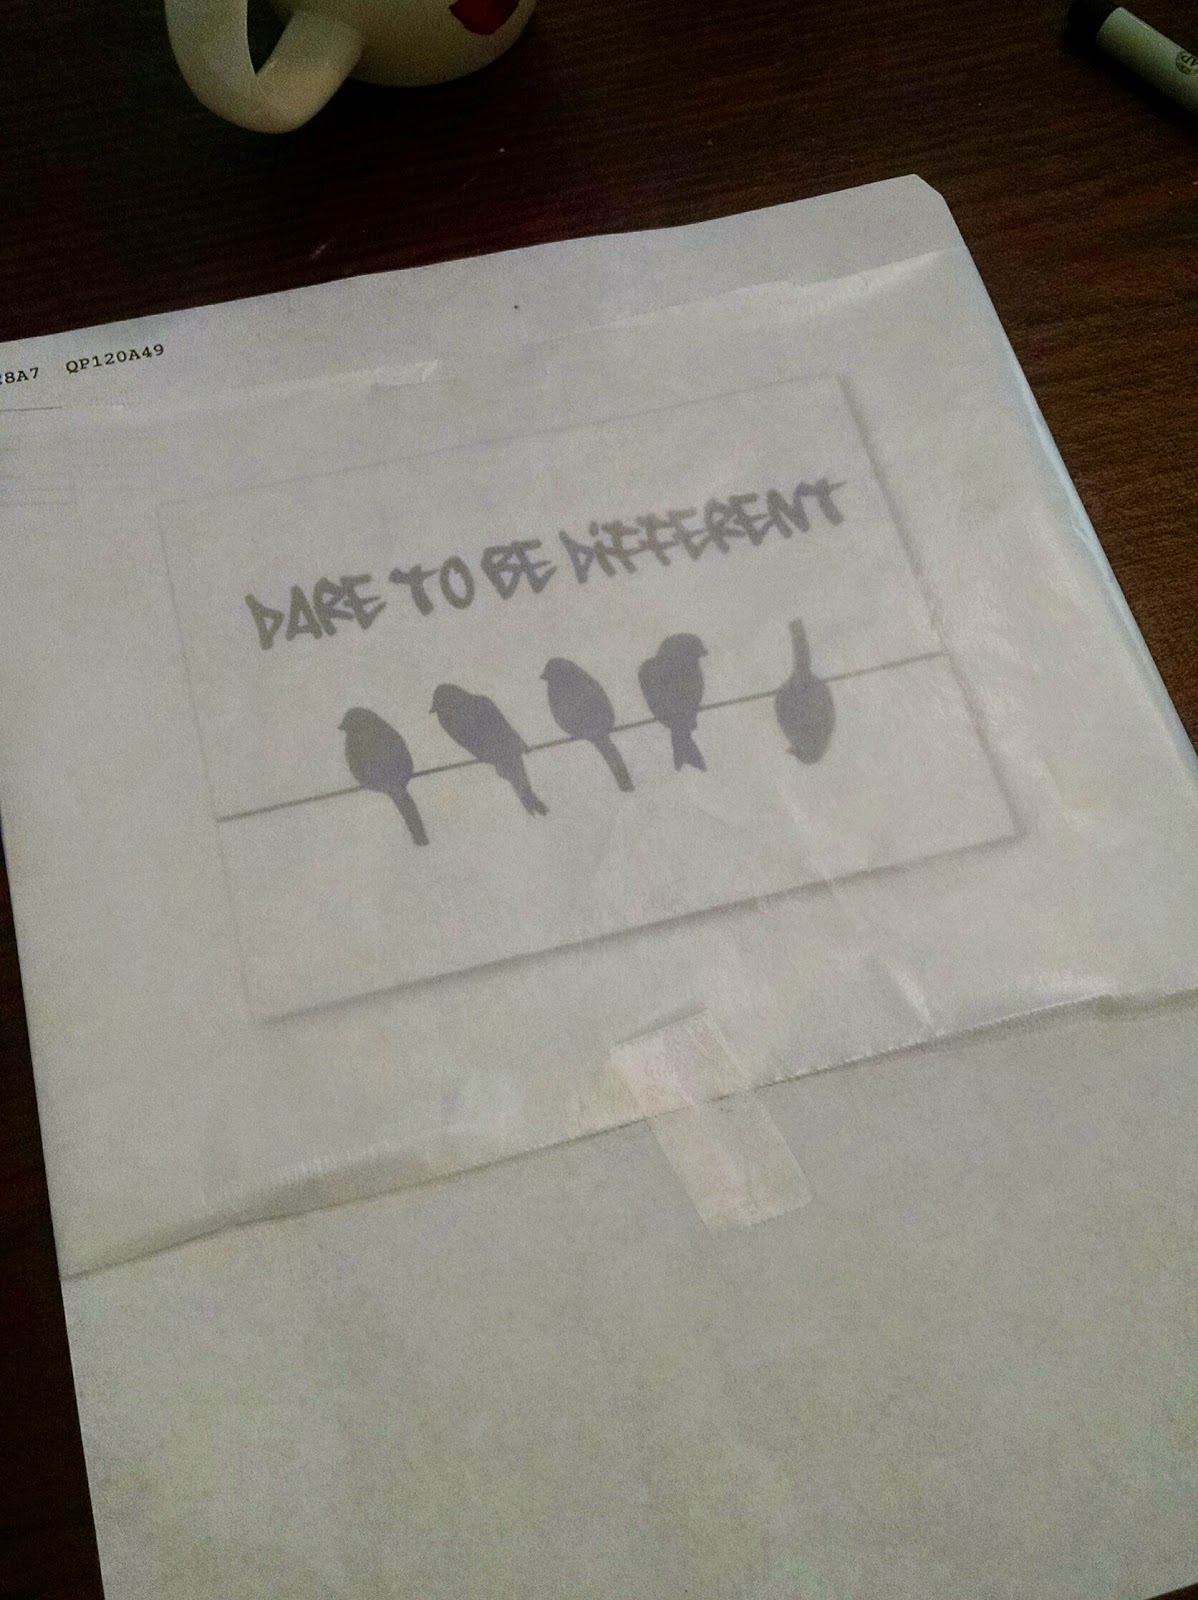
 And just like for my binder cover I printed out a design that I found here.
 And using the same method of taping down some wax paper, tracing with a Sharpie and then using a pen to etch out the design I achieved this...
And proceded to tape it to the notebook...
 ...trace the design...
 ...and fill it in.
 Something I would recommend if you are doing it on a notebook and not for a binder cover is mod podging it so that the paint doesn't chip away.
And you are done. I know that this is practically the same thing as something I've done before but I kind of just wanted to show you how you can do the same thing but change the results by combining different techniques and different patterns. I hope this helped and Make sure to make it your own.

Sunday, August 10, 2014

DIY School Supplies #2: Ombre and Quote Binder Cover/Notebook

The Finished Product...
The Inspiration....
I honestly don't know where this came from.

However this is really easy and is basically a patterned piece of paper with a design I drew on it.

So I used this design idea to put this in my binder which h as a clear plastic sleeve but you could also do this to a notebook.
I started off with a patterned piece of paper. You can find out how I made this here.
As for the design I found this one here, copied and pasted it into a word document and printed it out.  You could also freehand your design but you don't have to.
One tip for printing off something you are going to use a stencil only and not actually what you printed out is to use the transparency slider in Word to make the ink gray and not black. This uses less ink and as long as you can still see the design....
 And taking some wax paper I ripped off a piece that would fit over the design.
 And using some clear tape taped it onto the paper.

 Then taking a Sharpie I traced the design. Pencil and pen may not work for this. And the ultra fine ones are always better for details.
 And then taking a pen I etched out the design. You could also use an exacto knife, but I don't own one so...

 Then using the same clear tape I removed the wax paper from the paper and put it onto the ombre paper that I was going to put into my binder.
 Then using a Sharpie again I traced the design. I actually didn't use the lettering provided I just wrote it on my own with a normal fine Sharpie. You could also you paint I think put I don't know how clean the lines would be.
 And that is the finished project...
I think this is such a good idea to customize your school supplies because cute school supplies can be really expensive. And this is totally customizable with the pattern you do and the design you put on the front. You also print out your subject in a cool font. I always like to to not put my subject on my binder cover designs because I never really know until the first day of school what I am going to use it for. And even after that it always seems to change as the school year goes on.
I am now going to start posting regularly again (Sundays and Thursdays). Yesterday was just to make up for Thursday. I hope this inspired some of you to diy some of your own school supplies. I am thinking of making a master list of all my diyed school supplies so you could always reference that and click to what you wanted to know how to do....
Enough of my blabbering... I should go...

Saturday, August 9, 2014

Making Your Own Patterned Paper

So to explain all my absences... I am in marching band and have been very busy with that and also just hanging out with my friends. So yes I am very sorry.

 But onto this post, I am basically going to be showing you some different techniques for making your own patterned paper.

Obviously to make your own patterned paper you are going to ned paper and if you don't want to paint a whole piece of paper but you want a color you can use colored paper and then embellish it.

The next design is polka dots. I love polka dots and you can create these with an old pencil eraser. You are probably not going to to want to use your new pencil with the perfect eraser.

 And to fill in the empty sopts on your polka dots just use a tiny paint brush.


And you could always spray paint. I don't know how well commercial spray paint would work (maybe if you did it lightly) but if you use the spray paint from this post.


Okay now I forgot to tak picture of this which is really sad because it is really cool. Basically you just squirt a bunch of paint onto the paper putting different colors in different spots. So you should be left with spots of different colored intermixed. Make sure all these colors can be mixed together to make a color that isn't brown or black. And then taking a sponge brush just paint using brush strokes. What you'll get is a piece of paper that is kind of one solid color  (the mixed color) but has spots where it has the different colors you have. So if it makes any sense it's not one solid color but has spots where it's a different color. You could also do this with dabbing techniques which would give you a less mixed look.

And an ombre pattern...
I just painted using colors from dark to light by putting a line of paint on the paper and using dabbing techniques. I did you use different paint colors instead of using one and just making it lighter.
 Dabbing techniques help blend the two colors together.


 And then in some places I added more paint to blend and add some paint to some places where is wasn't as pigmented.

 That was the ombre...

And then splatter paint which was my favorite to do.
You are going to need a cup to do this a brush that isn't a sponge brush. One with bristles.
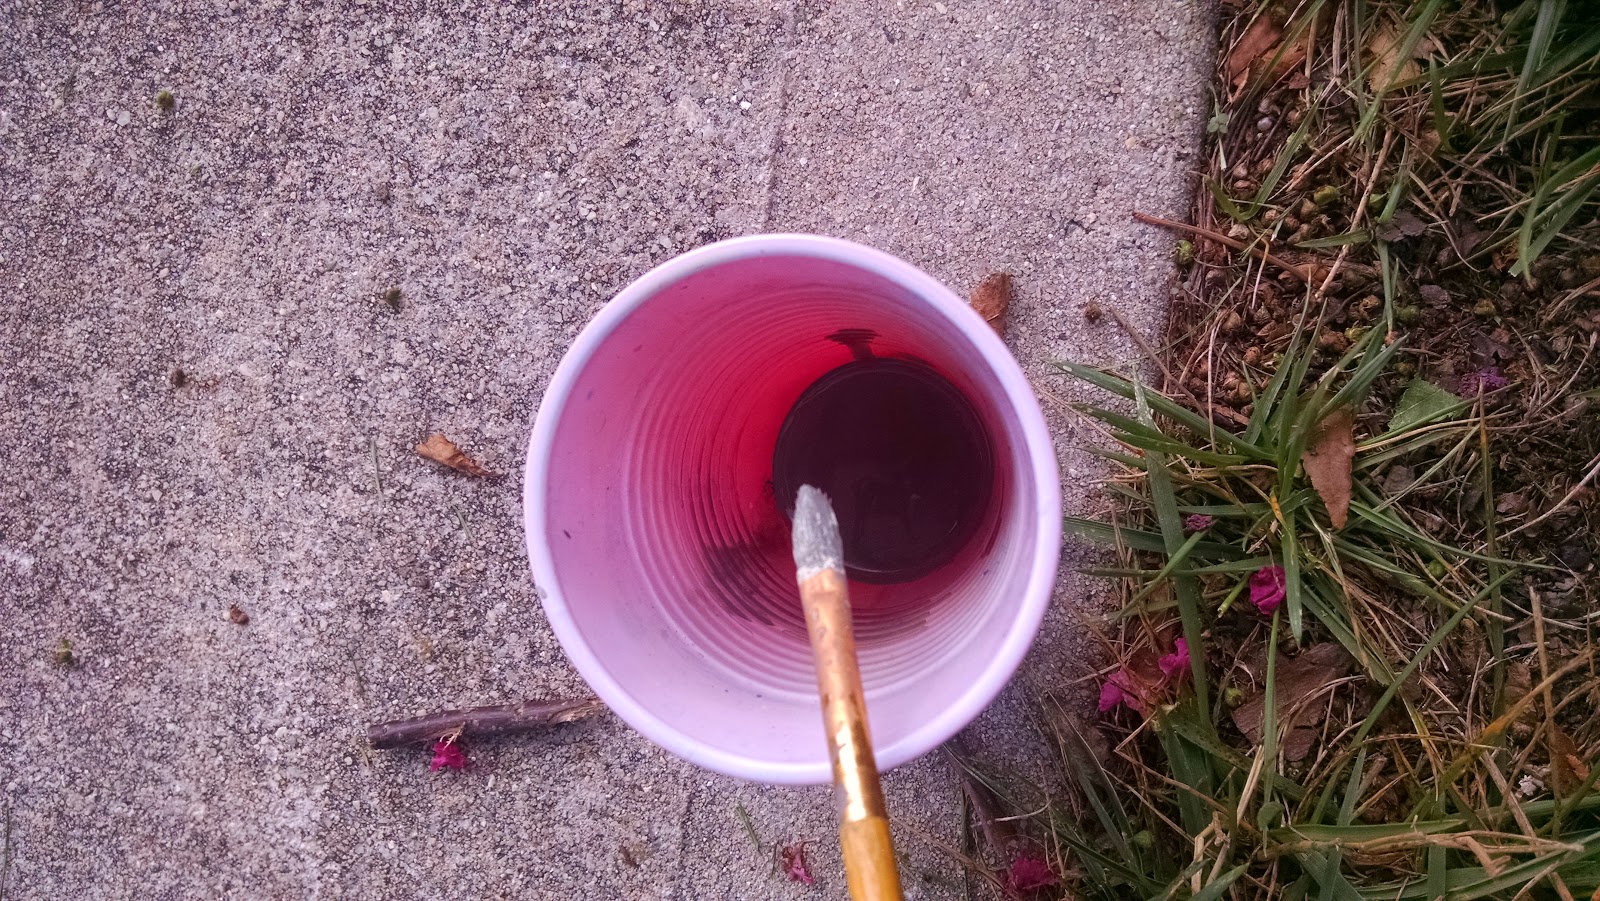
To make the splatter paint add the tiniest amount of paint (you only need to tiniest bit of paint) and the tiniest bit of water.
 And then taking your brush hold it over your paper and tap it to create the speckles.


And that is it for this. I hoped this helped. Also using markers and Sharpies to add some design is a good idea.
These patterned paper ideas are great for decorating your school supplies. I have more school supply diys coming up. Make sure to make it your own.

Sunday, August 3, 2014

DIY School Supplies #1: Block Paint Binder/Notebook Cover

The Finished Product...
The Inspiration...
It was not this photo in particular but an idea/concept and I don't know where I got it. But if you have ever scene thosw  notebooks where you tape a crazy design, paint the blocks and then take the tape off. That was my inspiration. However I wanted the lines to be a cool pattern and the blocks to be photos.
I found this picture here.

There are two parts of this diy. Theres the patterned paper and theres the creating of the photo blocks. I used this diy to put in a binder so I did it one piece of paper the size of the front of my binder that would fit into the clear plastic. If you want to do this on a notebook you can just put the pattern on the notebook cover  or glue the paper on. 

You are going to want to start with your piece of paper. If your paper is too small for your binder feel free to glue/tape two together. You are going to want to paint your paper (if you would like). I did not have yellow paint but I used yellow paper. This is an option if you don't want to paint the whole piece of paper.
 Then for this design (you don't have to do this design if you just want the picture block part of this diy) you are going to want to take some paint the end of a pencil (the eraser).
 And make polka dots!
 Then take a small paintbrush...
 And fill in the dots so that there are not gaps in the middle.
 You are then going to want to lay your paper somewhere where you can get pant around it. I went in my garage and laid a magazine under the paper.
 And then using some spray paint that I made and found in this post...
 I spray painted the paper.
 Allow it to dry before you do anything else to it...

As for the patterned block you are basically going to want to take pieces or scraps of a magazine, pictures, or any kind of paper (I used scraps of tumblr picture from an upcoming diy) and lay them on the out on the cover of your notebook or the piece of paper.
 Once you like it you are going to want to glue the pieces down and then mod podge over them so that they will stay.
And you are done!!!!
I think this looks really cool and nothing is better than personalized school supplies. i hope you enjoyed this and there are many more school diys to come.