Search This Blog

Sunday, June 29, 2014

Phone Case DIY

The Final Product...

The Inspiration...
Found here via Pinterest

This is a really simple DIY.
All you need is:
A phone case
Washi Tape

And the great thing about this is you can take off the tape and your phone case will be as good as new.

First off this is my phone case. I have a Moto X...
 The case has two parts... 
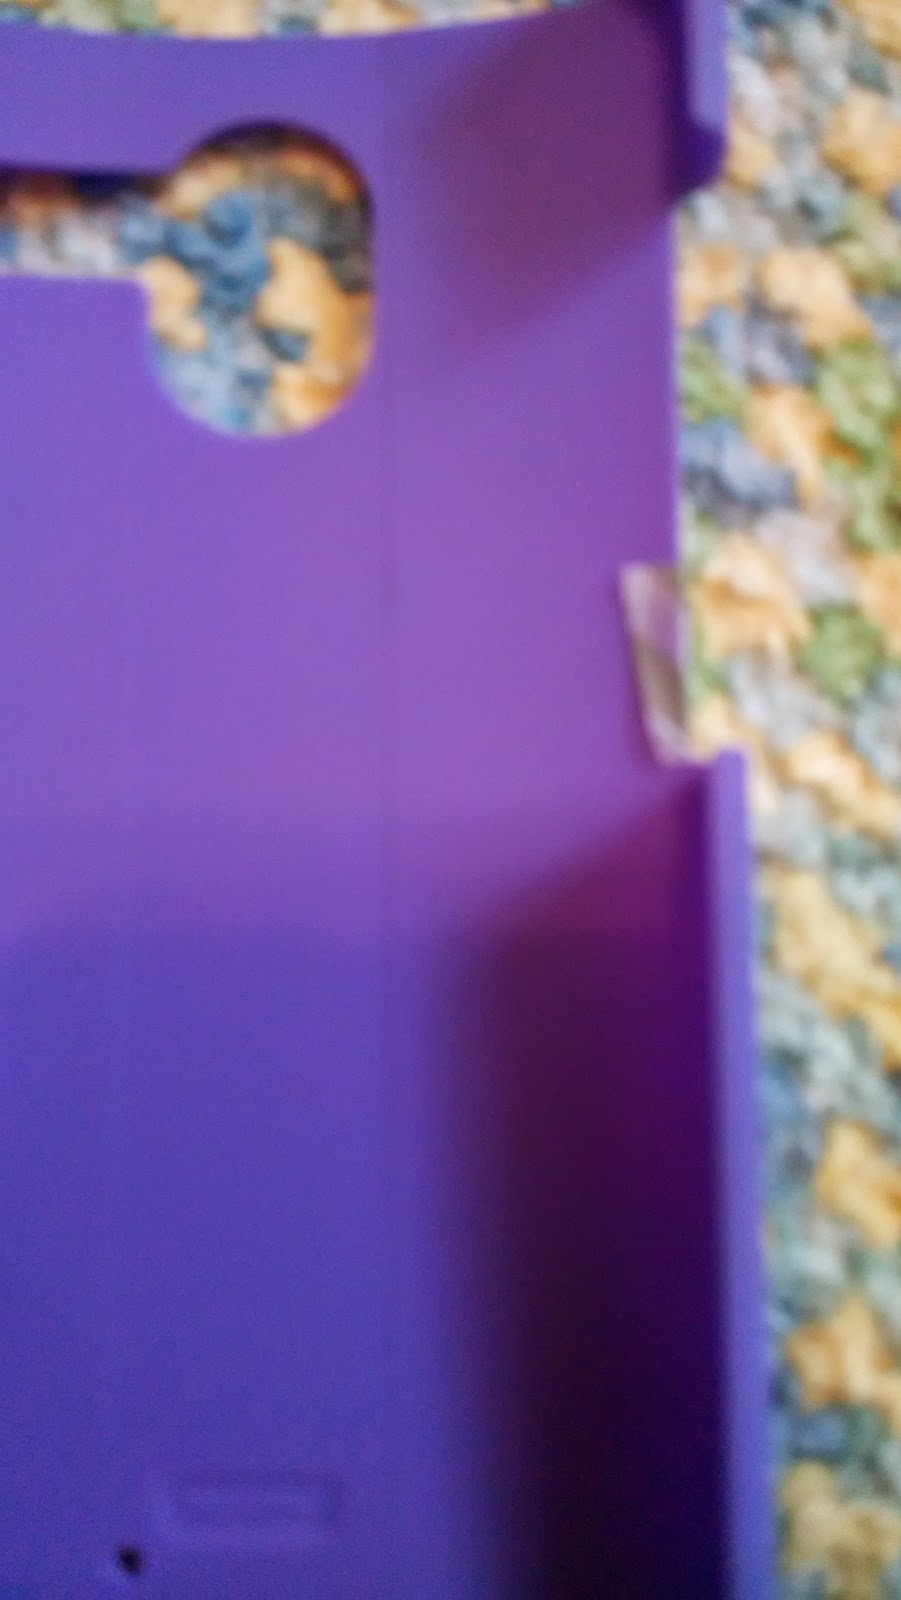
 A rubbery part, and a hard part. I only diyed the hard part.
 These are the 3 washi tapes I used, you can use as many as you would like...
 Basically you just layer the tape onto the phone case. I started on the middle because I thought that in the end that would make everything look better and I didn't want to start on the tough edges...
 I just folded the tape over onto the back to secure the tape...
 Now for the gaps in the middle of the phone case...
 I cut a slit.. and folded those extra pieces onto the sides.

 Just repeat putting the tape onto the phone case in strips or however you would like making cuts whenever you want o make the tape fall right. I had to use some normal tape to secure the washi tape because it wasn't sticking very well.
 And that is it... you are done.
I hope this gave you guys some ideas I and would love if you would send me pictures of this craft on Pinterest if you do it. 

Sunday, June 22, 2014

Homemade Bow

The Finished Project...
I can't exactly remember how I learned to make these but I've known how to make these for a while and I just recently made one for my friend so I thought I would share how I make them with you guys.

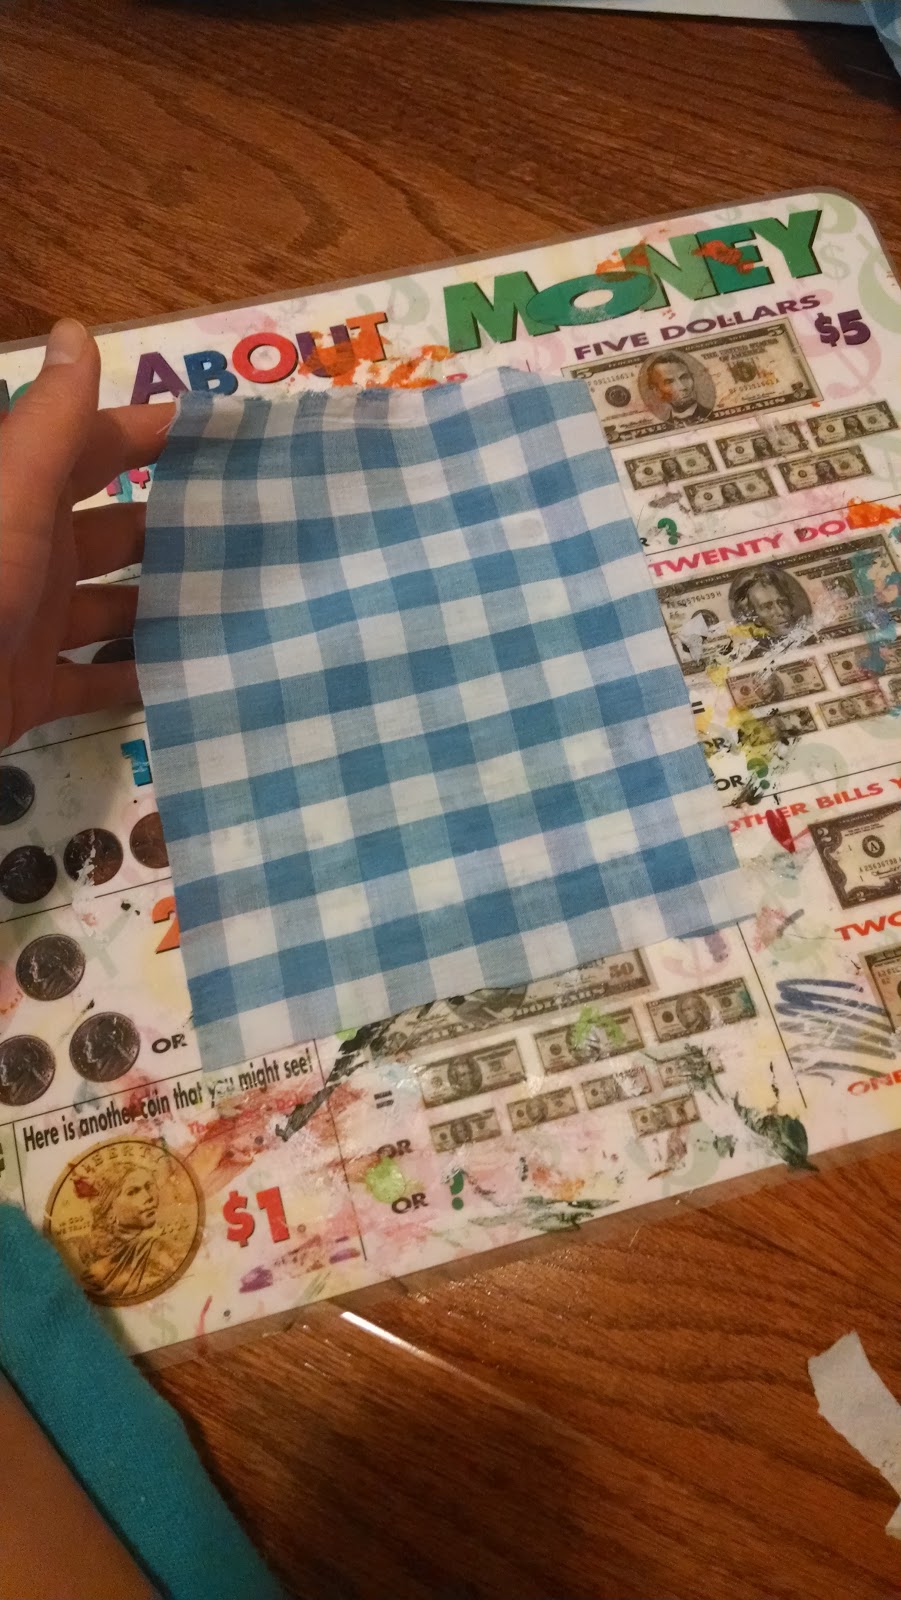
So this is the fabric I used... It is checkered so this makes the measuring situation easier but I will try to convert it if you aren't using checkered fabric.
 The first thing to do is to cut the piece of fabric you are going to use. It should be a rectangle but I little bit more on the squarish side. This piece is 12 by 14 squares. You can use whatever measurements you would like depending on the size of bow you want. One side should be a little longer than the other but not too much longer.
 Now to prevent fraying you are going to want to fold the sides over and secure them. I used tacky glue for this but you could also sew them or use another type of glue if you wanted to. I just folded over 1 square or if you don't have squares just about a half an inch or just whatever you want to. It doesn't really make a difference as long as you do the same to all the sides.

 Now you are going to create a rectangle from the rectangle which will form the bow shape when pinched. To do this you are going to fold the rectangle into "thirds". The longer side being the side that it collapsed into "thirds". When I say fold into thirds I mean to fold in half but have the seam of where you connect the two ends at the back in the middle of the new rectangle. If you have your rectangle laying flat bring one end into the middle of rectangle and have the other end meet it in the middle. Then glue them together. I hope I did that justice.
 Make sure you glue the sides.

 After that its done it is time to make the piece that goes around the middle of the bow. To do this cut a thin and narrow rectangle. It does not have to be super long though. The thing with these measurements is that they don't have to be precise, and you become more accustomed to them the more you make bows.
 Then you secure the sides to make sure they don't fray. This left me with a 1 by 5 rectangle.

 Once the tacky glue is dry from securing the rectangle, and the middle piece is complete you can move on the making the bow shape. Take the larger rectangle, pinch it in the middle, and secure it. I used a twist tie for this but you could sew it, or use string to tie a knot around it. However I find twist ties the easiest.

 Just wrap the middle piece around the twist tie or whatever you used to secure the middle of the bow. Use some glue at the beginning when you start to wrap it and at the end to secure. Preferably have the wrapping end at the back but the beginning doesn't have to be at the back. If that makes any sense...
And you're done!!!
To put this is your hair you can put a booby pin in the loop of the middle piece in that back, you can glue the bobby pin  to the back or any other clip. Or be creative. If you have any suggestions for this blog I would appreciate if you would leave a comment, also if you have any questions.
Make sure to make it your own!

Sunday, June 15, 2014

DIY Makeup Brush Cleanser

So this is a little different from my normal diys and crafts but I came across a makeup brush cleanser diy  that is super amazing and really simple so I wanted to share it with you guys.

It was found here.

Because I don't have that many brushes I cut the recipe found from the site linked above in half. So the halved recipe which I think is a good amount is:
1/2 cup water
1/2 tablespoon dish detergent
1/2 tablespoon vinegar

One thing that was not in the original recipe, and I didn't add until later is hair conditioner. This will make sure your brushes don't try out. You only need a little squirt, and that should do justice to your brushes.

You're going to mix those together in a cup/jar/bowl/ The dish detergent I used was a clear dish detergent so that is why it just looks like water in the jar. 
 Then swirl your dirty brushes in the mixture and watch the dirt and makeup wash away.
After doing all three of my brushes this is what the cleanser looked like. 
After you wash your brushes in the mixture make sure you rinse your brushes by putting them under water and swirling them in your hand. This should remove all the soap and residue that could be left on the brushes. I didn't accouter any residue though, just soap.

 Now as for drying you don't want your brushes to try on the side or standing up straight, you want them to dry hanging upside down. To do this I set up a contraption by tying my brushed together with a hair tie and hooking the hair tie to a clothes hanger.  I also put a rag underneath the brushes so that water dripping off the brushes doesn't get onto the floor.
Your brushed should be clean now. Enjoy using them!!!

Thursday, June 12, 2014

Watercolor Sunset

The Final Project...


This is really simple, and really basic.
Before I did this I was worried because sometimes watercolors can not be vibrant. But I was able to overcome that.

I started by watercoloring the basic scene.
I put some green at the bottom with a yellow half circles and the sky fades from orange to purple. So it turned out to be a basic sunset scene.
 After this I thought it was really plain and didn't stand out so I used some crayons over the green, yellow, and some red on the sky.
 And then watercolored again, adding some more definite stripes of color and some blending.
That was all I did to create this really simple look, that also looks really great. I hope this somewhat helped you if you struggle with making watercolors more vibrant.

Sunday, June 8, 2014

Braided Headband

The Finished Project...

The Inspiration...
Found here via Pinterest

This DIY is really simple, really cute, and super easy.

I basically followed the instructions from the inspiration.

First I cut my ribbon (you can definitely use things other than ribbon) and duct taped all my strands to a matt. I cut my ribbons so that the strands would go 1 and 1/2 times around my head. It is better to make the strands longer than shorter. You can always cut the strands shorter, but you can't make them longer. I used four strands because I did a four strand braid but you can use however many you want...
 When I was done I used a mini clear elastic to secure the ends so the braid wouldn't come undone when I tied it to the hair tie...
 I also tied the top part of the braid with a clear elastic and took the duct tape off.
 This is the finished braid...
Make sure to adjust the length of the braid so that it is a little shorter than your head.  That way it won't be too loose when you put it on your head.
Make sure to make it your own. 

Thursday, June 5, 2014

Magazine Tear Art

The Finished Product...

The Inspiration...
My brain

This is not at all complicated but I decided to post about it anyway because it might be helpful to use under another design or as a binder cover. And because it was easy I only took a picture of the final product.

Basically you tear out a bunch of  magazine pages. 

Take one magazine sheet and lay it down. This will be what everything else goes on top of. If you are doing it in a notebook glue this magazine sheet to the paper.

Now take a second magazine sheet and tear a tiny strip off the side.

Glue this sheet on top of the first sheet so that all of the sides line up but one. You should be able to see a tiny strip of the first page.

Take a third magazine sheet and tear off a larger strip then you did the second one. 

Line up the same three sides and glue this sheet on top of the second sheet. You should see a tiny strip of the first and a tiny strip of the second.

Repeat this until you are satisfied with the amount of strips and how the overall product looks.

Please note when I say tiny the strips can be however big or small you want. This is one of the ways you can personalize the project.

This is really easy and super fun and easy to do. I hope this gave some of you some ideas. Make sure to make it your own.


Sunday, June 1, 2014

Duct Tape Feather

The FInished Project...
 The Inspiration...
Found via Pinterest account fashiondivadesign.com. The link was blocked from where this pin was found but this is the link for the Pinterest account which I pinned it from.

For this DIY I basically followed the steps in the picture.

I cut one piece of duct tape bigger than I wanted the actual feather...

 And then another piece in a different color about the same size as the other piece. You could use the same color if you wanted to...
 And stuck the two pieces of duct tape together...
 Then  cut a feather shape based off the feather shape in the inspiration...
 Then stuck on a pattern piece like the inspiration and trimmed that down to the feather shape..
Then came the slits which was my favorite part. I just cut a hole bunch of slits around the edges. Don't go over board here I did that with one of mine...
I haven't done anything with this yet but the possibilities are endless. You could make a necklace or a keychain which I think I'm going to do.
Make sure to make it your own!!!!!