Search This Blog

Sunday, March 30, 2014

DIY Shirts

So recently I have been diying some shirts... two to be exact... so I'm going to show you my methods and give you some tips as I go along.

For these projects the general supplies you are going to want...
Plain t-shirts, I got mine from AC Moore
Fabric Paint
A potato (only for one of them)
Scissors
A knife

My first shirt...

I actually got this idea from this YouTube video: http://www.youtube.com/watch?v=xj8_yW_RSPI
that is doen by a German guy but I picked up on the general idea which is...
using a potato to create a stamp to use for a shirt. I fell in love with this idea but upon failure of his way I reinvented it into something that I thinks is a little easier.

So here is my potato... if you wanted to see...
And because I am a terrible artist I printed out a silhouette of a bird (the object I wanted to stamp out) and resized it. If you are a good artist a Sharpie would be the tool that you would want to use.
The bird silhouette can be found here if you would like to use it.
If you watched the video you'll see that he used managed to cut out his design with one side of the potato still attached which makes it easier to stamp but I tried that and I failed miserably so I just cut a slice of the potato, put the cut out bird print out on top and used a knife to cut it out.

Because a potato is water filled and moist I let mine dry out for a while so that the potato water wouldn't make the paint watery.

And then once you have your stamp just squirt out some paint, put your stamp in and just place it on your shirt. You can either place them in a desgin like I did or you can just place it all over randomly with wil make it look like a print.

Some tips for when you are stamping:
Test your stamp first on some paper just to get the feel keeping in mind that the amount of paint that will ooze on paper will be okay on the shirt and the edges will not ooze.
Be careful to not put your fingers onto your shirt as you will most likely have paint on them and you don't want those paint dots
To make sure your silhouettes aren't too spacey press down on the stamp to make sure the paint is coming of the potato. I kind of liked the whole not entirely solid look but if you really wanted it to be solid you could go in afterwards with a paint brush and touch it up.


The next one took me a lot longer and I honestly don't like it as much.
For this the first step is to print out the design/words that you are going to want. Making sure they are the correct size. To save ink you can change the font color to a light gray. This is really helpful.
You are them going to want to cut out the inside of the letters or the design so that you are left with an outline. To do this I'd recommend that you first poke holes in the letters with scissors. This will allow you to put your scissors in the middle of the letter to cut the letter out.
You'll use that fancy scissor technique where you open them up all the way so that they are just blades...
And them cut them out...
And then the pain staking task of taping down all the outlines so that you can paint. Masking tape is the best kind of tape for this.
And then take your fabric paint or in my case Fabric Paint markers and fill in the spaces. If you're using fabric paint a sponge brush is the best type of brush.
And them take off the paper and ta da!
Apparently as I found out after the fact is that instead of using paper and tape as an stencil you can use freezer paper and iron it onto the shirt with get rids on the taping aspect and will give you more clean lines. That is if it works. I haven't tried it I am really excited to.

Make sure to make it your own and if you try out the whole freezer paper thing make sure to comment and tell me how it went.


Sunday, March 23, 2014

Custom Earbuds

I don't know about you but I love personalizing things to make them my own so I was so excited when I came about the idea of personalizing earbuds on YouTube.

The Finished Project...
I got this idea from my friend who had earbuds that looked like they had wrapped string around them so I decided that I could do my own.

What you'll need:
Earbuds
String/Floss (the sewing kind not the teeth kind
Tape (optional)
Clear Nail Polish

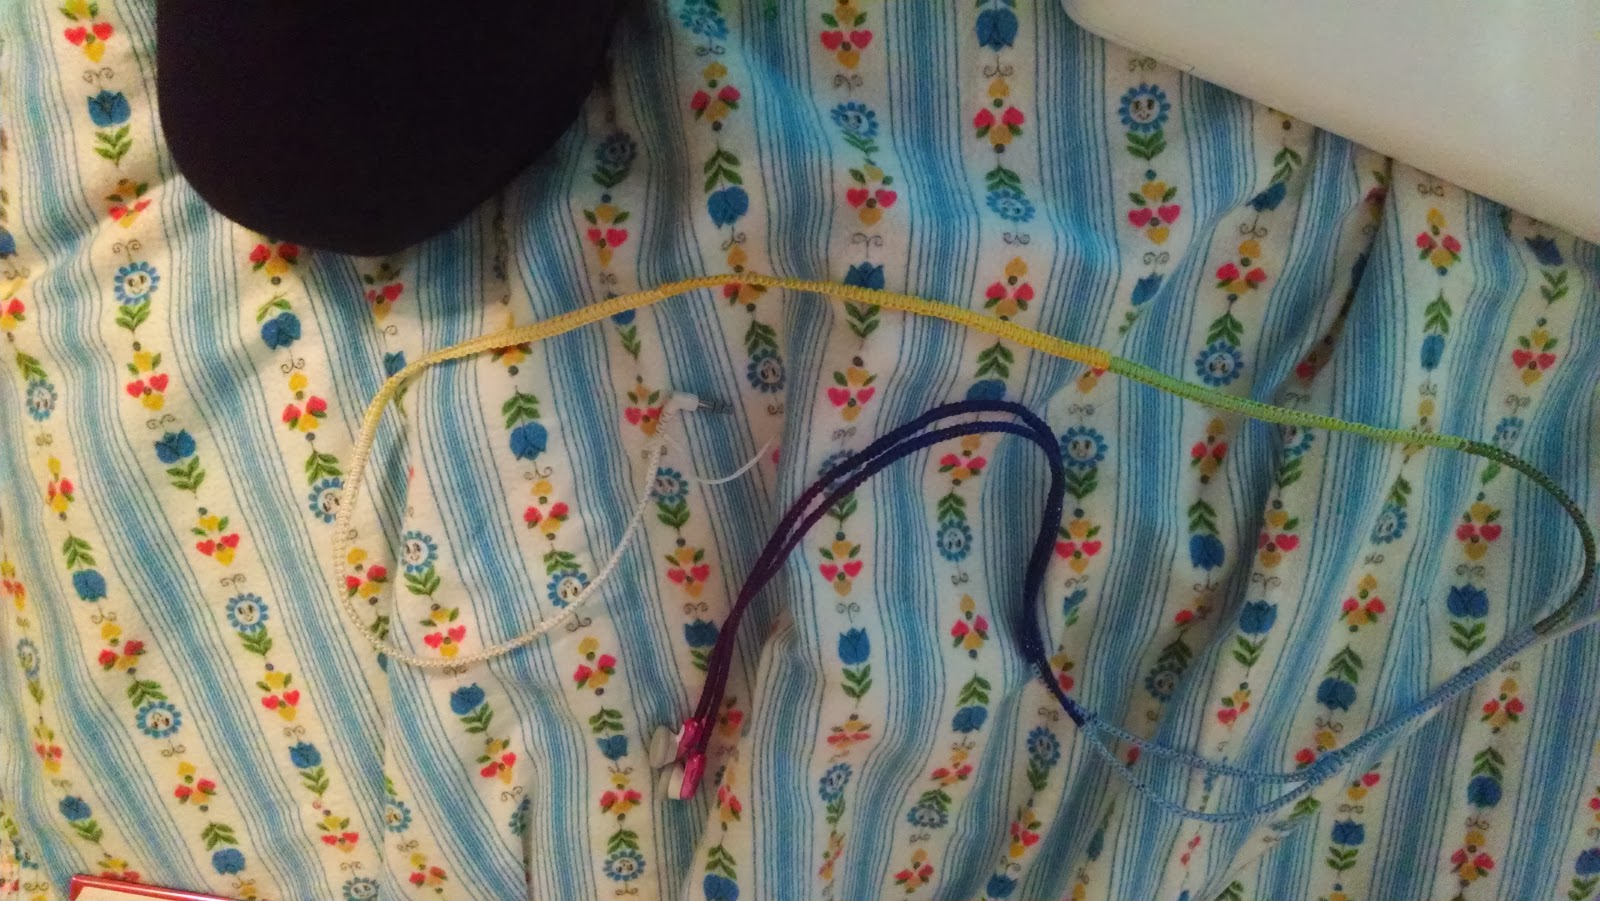
So basically what you're going to do is make a friendship bracelet around the string of the earbuds. This will have to be a friend ship bracelet that when you make it you are making it around the string.
If you want to change colors/ran out of string and need to start a new piece of string you are just going to want to let the ends of the string drop down (don't cut them just yet). To make this easier you can tape the string down with a piece of tape.
 Right where that color ends you are going to want to wrap your new piece of string around the wire and the ends of the old piece of string.
 Continue friendship bracelet making..
 When you are getting to where the ends of the the string end take the tape of and cut of the excess string. This method secures the ends without a knot, and creates a seamless change.
 This is more of my headphones...
 And just continue to friendship bracelet make until you are done. To finish the final ends you are going to want to cut them really short and to make sure it doesn't come undone and fray you can seal it with some clear nail polish or colored if you want.
Then you are done!!!!!!!!!
Make it your own!!!

Wednesday, March 19, 2014

Butterfly Swing

The Finished Project...
The Inspiration....
Saatchionline.com via Pinterest
I personally loved customizing this one.

What you'll need...
Mod Podge or Glue
Butterfly stencil 
Coloring Utensils
Scissors
Newspaper
String
A piece of paper or surface to do this craft
A workplace

The first thing you'll want to do is to glue the newspaper down onto your piece of paper. I don't have a picture or this but I'm sure you know what it looks like.

While that's drying you'll want to cut out and color some butterflies...
 I found a butterfly outline I liked, pasted it into a word document, reduced the size down, and copied it and pasted it a ton of times until I had about 20 butterfly outlines which I printed out, colored with colored pencils, and cut out. Feel free to draw your own butterfly outlines.

Also you'll want to draw/printout a person, color it and cut it out. I drew mine...
 You'll also want to cut and color and rectangle for the seat of the swing. You can use a cloud like in the inspiration if you want but I liked the wood bottom.
 You'll then want to take a pencil and draw out where you want the sides of the swing to be.
 Measure string to fit that...
 And then glue it down...
 Then the seat...
 Then the girl...
 And then the butterflies...
You'll want to space them out and overlap them.

I really loved how this turned out. I hope you'll try it and make it your own

Saturday, March 15, 2014

Duck Tape Folder

The Finished Project...
Okay so recently I received a really ugly folder from my school and I decided to get good use of it by duck-taping it. This prettifies it and it makes it stronger and more durable.

So this diy is pretty simple.

You'll need...
A folder
Duck-tape, one color or multi colors
Scissors

So my folder from my school was really odd and was not connected at the bottom by the side do it would open up completely. So if you're wondering...

You're going to want to start with the inside.
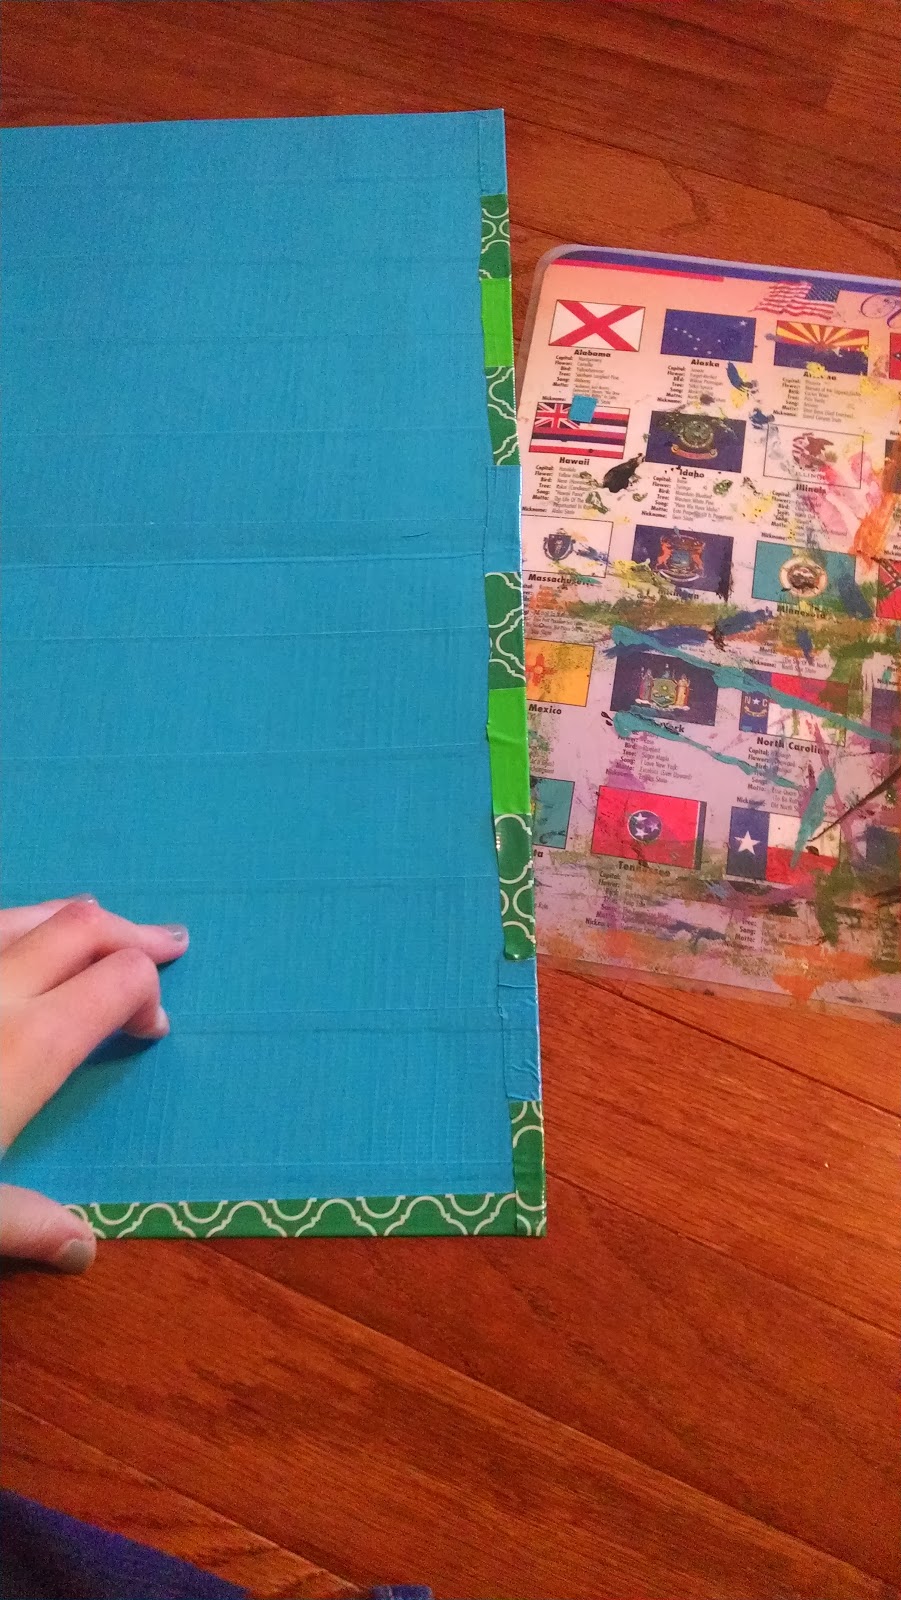
Measure out and cut a piece of duck-tape that  will cover the whole folder if you have a weird folder like I do or will cover just the part you can see.
Apply the duck-tape making sure to smooth the tape out so there are no air bubbles.
Fold the edges onto the other side. For the corners cut a tiny square out at the top to make folding clean and easy.
When you're down with one piece it should look like this...
Just keep doing the same process of cutting strips long enough and then placing them on the folder. Overlap the edges of the pieces so that there will be no gaps. Once you're done with a few rows it should look like this..
This is what it looked like when I had done the whole inside...
And when the flap was folded over...
If you have a normal folder where the flap is already secured I would cover that part of the folder when you're covering the front. Just wrap the piece from the front over the flap and put the excess in the pocket.
For doing the edges going over to the front I left them hanging out until the end when I cut them to a uniform length and folded them over

That's what the top edge looked like...
And the inside of the folder when I folded the pocket flap over...
To secure that I took a matching piece of duck-tape cut to that length and just folded it over from front to back...


The final inside of the folder...
And the outside...
And unfolded...
I hope this helped some of you guys. Even though it is pretty basic. Definitely make it your own by using different colors and types of duck-tape to cover up those ugly folders.